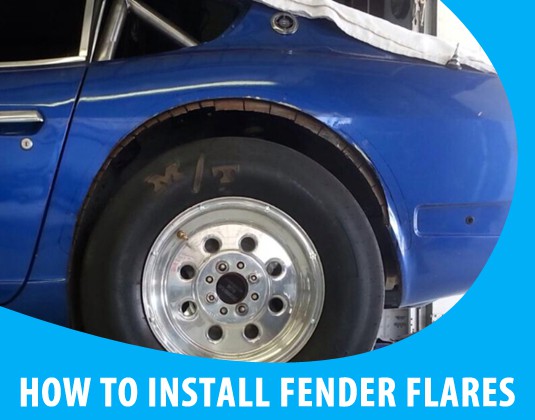
How To Install Universal Fender Flares
Step-by-step Guide How To Install Universal Fender Flares
This installation guide is applicable to all models of our universal fender flares. All of the steps down below are also applicable to our widebody kits with one caveat – you’ll need to do mock-up fitments of ALL body kit pieces before doing all the cutting or drilling. The most common question about the installation process – is drilling and cutting your fender is necessary? Yes, to achieve the best fitment in most cases it is impossible to avoid cutting your original fender. We also highly recommend installing Sekcustoms fender flares or widebody kits with skilled professionals, having all the necessary tools. In our shop, you can also find the Installation M4 kit which consists of threaded rivets, washers, and bolts. It is a high-quality stainless steel product, that is commonly used in fender flares and wide body kit mounting because it is solid and resistant to vibration. U channel rubber trim is also commonly used in mounting, putting it in between the original fender and fender flares. It gives a more clean and smooth look.
Check out our products:
Subaru wide body kits
Mini Cooper wide body kit
BMW wide body kits
Let's move on with our installation guide:
1. Align the flare with the body and mark its positioning with a pencil or sharpie. This is one of the most important steps. Please take your time to carefully align the flare over your original fender or a quarter panel. We recommend having your wheel mounted on the car when doing this step – this will give you a visual of additional (negative) offset that you’ll need to come up with (either with wheel spacers or with a different set of wheels) as well as the amount of metal be cut away. Do NOT modify your flare with cutting and molding just yet. Leave about 15mm / 0.6 inch.
2. Leave about 15mm / 0.6 inch from the line that you drew in Step 1 and draw another line (closer to the fender quarter panel lip). Cut your lip by following this newly drawn line.
3. Very carefully bend the inner wheel arch with a rubber mallet to get it closer to the outer fender.
4. Cut the inner wheel arch.
5. You will need to weld shut the inner wheel arch and apply corrosion-inhibiting coating (we recommend POR-15) along this new seam weld.
6. Align the flare against the fender quarter panel again, this time affixing it in place with double-sided scotch tape.
7. Drill out the holes through the flares and fender quarter panels.
8. Affix our fender flares with our Installation M4 kit, using bolts and rivet nuts.
9. Enjoy.
If you have any troubles or just want advice we always love to help our customers to get the best result possible. Contact us via email [email protected] and we will reply to you within one business day.
All comments